Import files, publish changes and inspect history
Guide home · Find a task Review the destination and chosen files before uploading. Local Save, Upload Changes, server processing and check-in are separate steps. A later save may still need uploading after an earlier copy finishes.
Version history
A complete desktop version-history timeline is planned. Upload labels and comments do not imply that the timeline is available. Use an approved AEM web history page where your deployment provides one.
Add new files
Choose a DAM destination where you can create assets.
- Choose Upload File and select local files, or use a supported drop area.
- Review destination, filenames and any conflicts.
- Confirm and follow each item in Transfers.
Uploading a new file differs from uploading edits to a managed asset. Later local changes may need another upload.
Cancel before confirmation to abandon the import. For partial completion, inspect each result before retrying failed items.
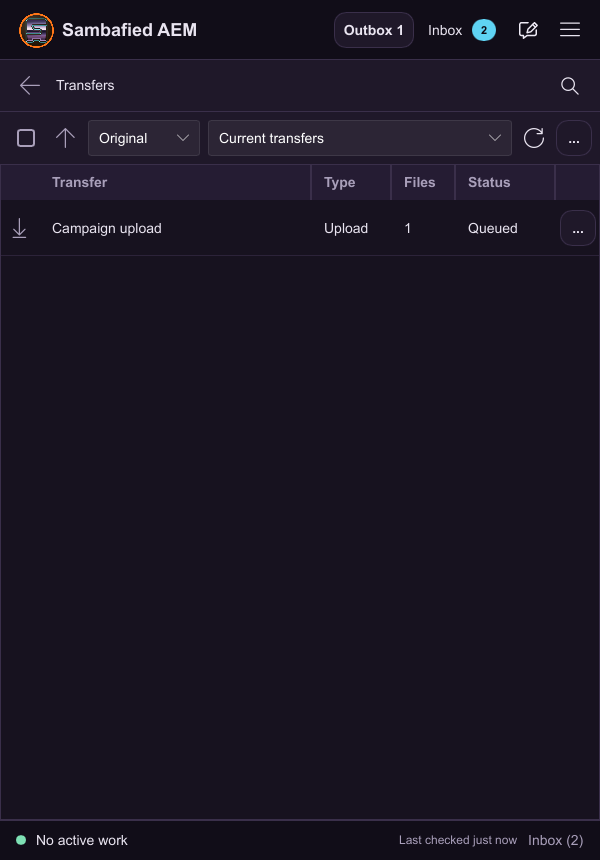
Illustrative sample. The Transfers view shows a queued upload of a new file.
Upload a folder hierarchy
Check space, permissions and the intended parent folder.
- Choose Upload Folder and select the local folder.
- Review its hierarchy, files, naming changes and conflicts.
- Confirm the review.
- Inspect per-file progress and any missing or denied items in Transfers.
Some files can finish while others fail. Preserve completed results when resuming the remainder.
Cancel stops remaining work where possible; it does not remove files already uploaded. Check uncertain results before restarting the whole upload.
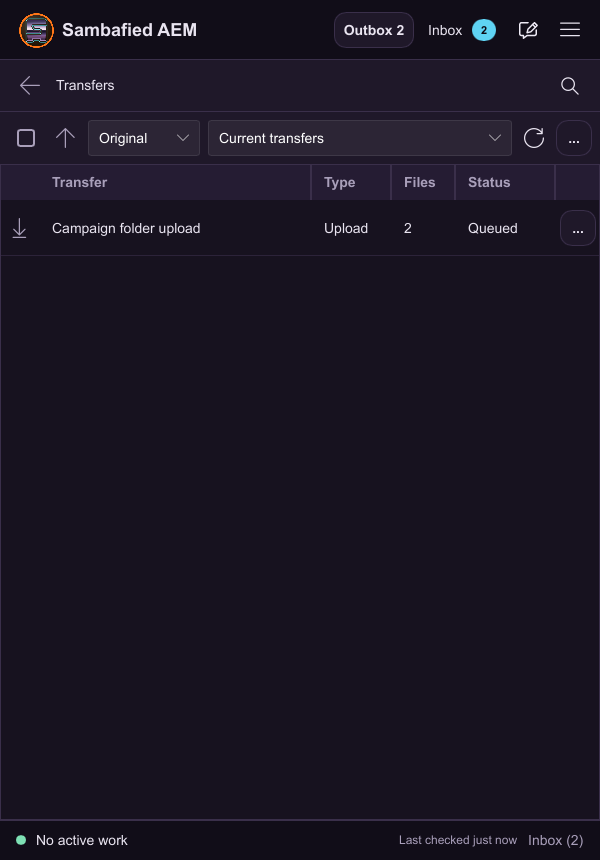
Illustrative sample. The Transfers view shows an upload with multiple files.
Upload saved changes and inspect versions
Save and review the copy you intend to upload.
- Open Edited locally, select the asset and choose Upload Changes.
- Review the saved copy and destination.
- Add a version label or comment if offered by the server.
- Confirm and inspect transfer completion and server processing. Check in separately if required.
Upload may complete before server processing. A newer save on this PC may still need uploading.
If the result is uncertain, inspect the original transfer before retrying. Version creation does not mean a complete desktop history timeline is available.
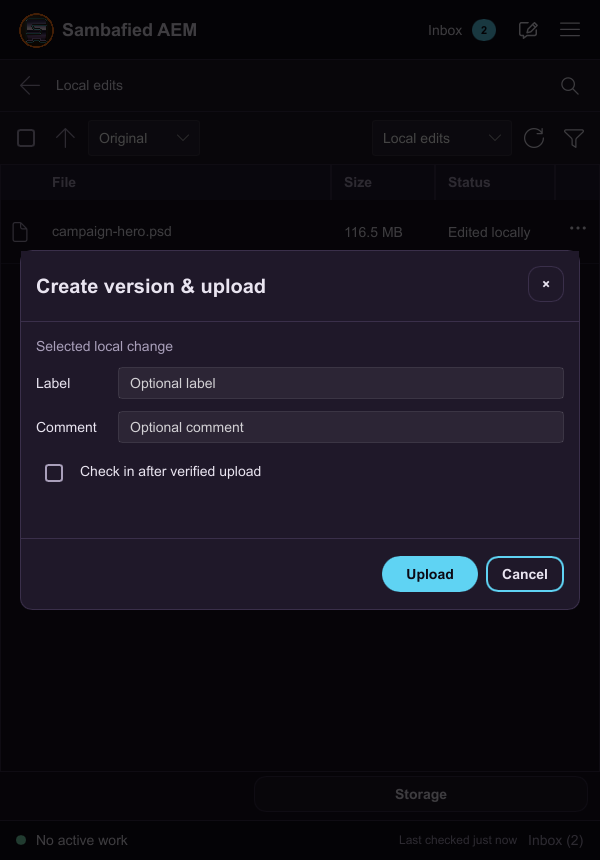
Illustrative sample. Create version and upload provides fields for a label and comment.
Resolve an existing-name collision
A file with the proposed name already exists.
- Compare the existing asset and new file.
- Choose an available option: Keep Both, Replace, Create Version or Cancel.
- For an apply-to-all choice, inspect the exact items included.
- Confirm and check individual results.
Replacement and version creation have different effects. Use only choices your server supports.
Cancel if you cannot identify the asset that would be replaced. Use a distinct filename when preserving both is necessary.
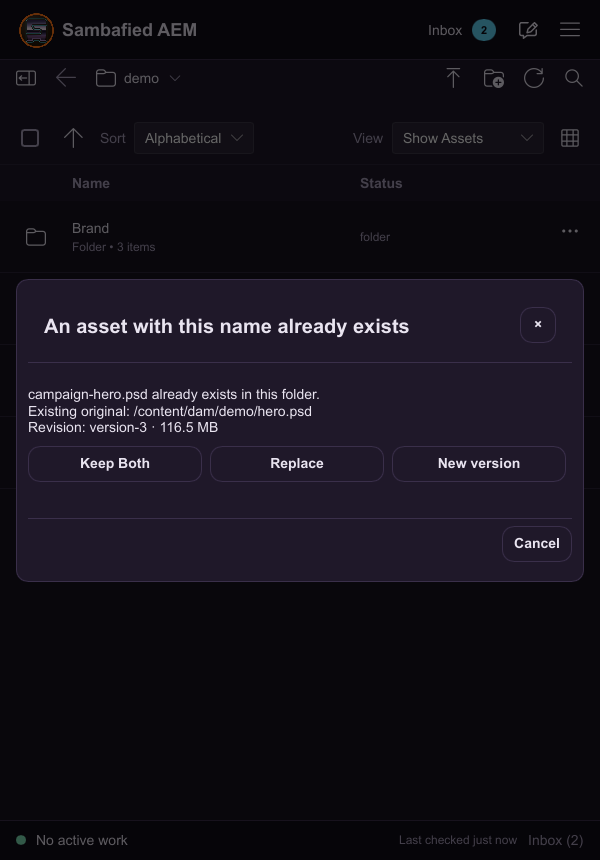
Illustrative sample. Controls may differ in your build; this image does not verify the complete task or its result.